This article is a step-by-step guide on how to use Mailparser. You’ll learn how to set up your account, import your e-mails, and set up your first parsing rules. Getting started with Mailparser is simple.
Automate Your Business With Email Parsing
Let’s have a quick heads-up first … What actually is Mailparser and what can it do for your business? Mailparser is a web-based email processor and automation software. It allows you to pull data fields from incoming e-mails and copy the extracted email data either into spreadsheets or other web applications. You can for example send your email data to Salesforce, Zoho CRM, Mailchimp, Google Spreadsheets, or any of the hundreds of web applications supported by Zapier. Microsoft Flow is also a fantastic integration partner for users preferring to stay in the Microsoft family.
Still not sure how Mailparser can help you automate your business? Our list of customer testimonials will give you a good overview of the most popular email parsing use-cases.
Parse email data with your custom Email Parser in no time
Mailparser strives to make the setup as easy and fast as possible. Once you created your free account, Mailparser will guide you step by step through the process of setting up your email parser. In most cases, you’ll have a reliable email parsing solution within a couple of minutes. Follow the steps below and liberate your email data now!
In addition to this quick guide, you’ll find plenty of FAQs in our knowledge base and more helpful articles on this blog.
Basic Steps for Setting Up Your Email Parser – Mailparser Example
The basic steps of setting up your account are the following
- Create a free account
- Confirm your email address
- Create your first @mailparser.io inbox and forward some email samples
- Create parsing rules matching your e-mail layout
- Send more test emails and validate the parsing rules
- Download your data as a Spreadsheet or set up webhook integrations to other web applications
- Set up and auto-forward and enjoy your fully automated data-entry workflow
We recorded a screencast showing you how to perform the first steps and get started. Watch it now before you continue with this getting-started guide.
Create custom email parsing rules
Parsing rules are at the heart of Mailparser and getting them right is the most critical step in the setup of your email processor. Parsing rules are basically a set of instructions that tell our algorithms which data you want to extract from your emails.
In most cases, creating parsing rules is straightforward thanks to our quick-setup wizard. The wizard works best if your emails have a simple “key: value” structure or if they have a known popular format (e-commerce platforms, lead providers, payment processors, etc.). In the video above you saw our quick setup wizard in action.
Of course, it is also possible to create new or fine tune existing parsing rules by yourself. Our powerful step-by-step parsing rule editor allows you to cut out the data you’re looking for without the need to code anything. To get an idea about how this works, have a look at the following video.
If your use-case seems to be too complex for the two methods shown above, please don’t hesitate to contact us. We are having plenty of powerful tools and plugins which we can use to get your email parsing project set up.
Download data parsed from e-mails
Once your email parsing is set up, you probably want to either download the parsed data as a Spreadsheet or send the data to other web applications. Both can be done in the backend of your @mailparser.io inbox.
Go to “File Downloads” and create a download configuration there. This will give you a link to a file that always contains the latest parsed email data. Files can be delivered in most formats such as CSV, XLS, JSON, or XML. Check out our articles on the topics “Email to Excel” and “Email to Google Spreadsheet“.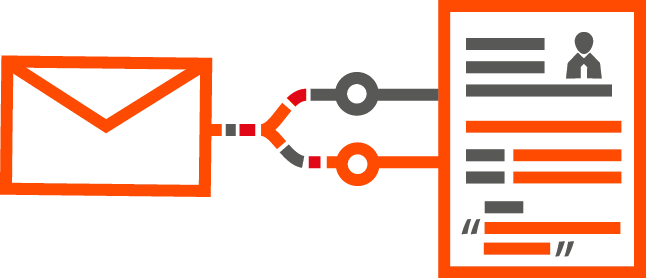
Send Email Data to other web applications
You can also create a so-called “Webhook Dispatcher” which will send your parsed data to another API or web application right after the email got processed. Mailparser offers a couple of direct integrations out of the box. For example Email to Salesforce, Email to Zoho CRM, Email To Google Spreadsheet.
All other use-cases are covered by Zapier or Microsoft Flow. By connecting Mailparser to Zapier or Flow it’s easy to send your parsed data to services which you can update hundreds of web applications.
If you have trouble setting up Mailparser or if you have any questions, please don’t hesitate to contact us anytime.