If you want to send a Gmail automatically anytime Mailparser processes an email, you can do that using Zapier.
You will need:
- a Mailparser account
- a Gmail account
- a Zapier account
Steps
Getting your accounts ready for sending Gmail emails with parsed data
To connect your Mailparser account to Zapier you must have an active Zapier account, and an active Mailparser inbox. Setting up a new Mailparser inbox will involve forwarding your first emails, and creating parsing rules. For more information about getting started with Mailparser, go here. You can learn more about getting started with Mailparser on Zapier here.
To connect your Mailparser account to Gmail, you will need a valid Gmail account. You can learn more about getting started with Gmail on Zapier, here.
Connecting your accounts
Click here to Send New Gmail Emails from Mailparser Processed Emails.
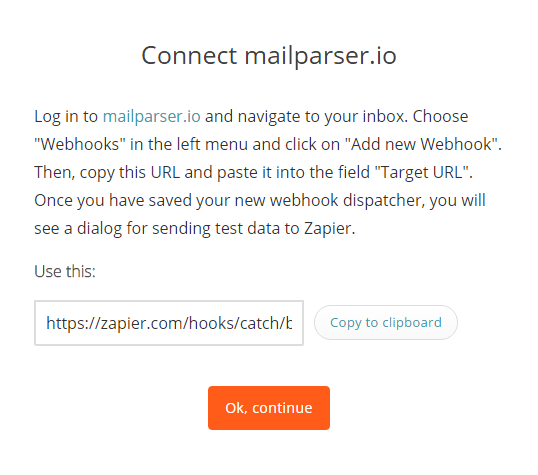
- Follow the directions on the Zap to Add a new Webhook to Mailparser.

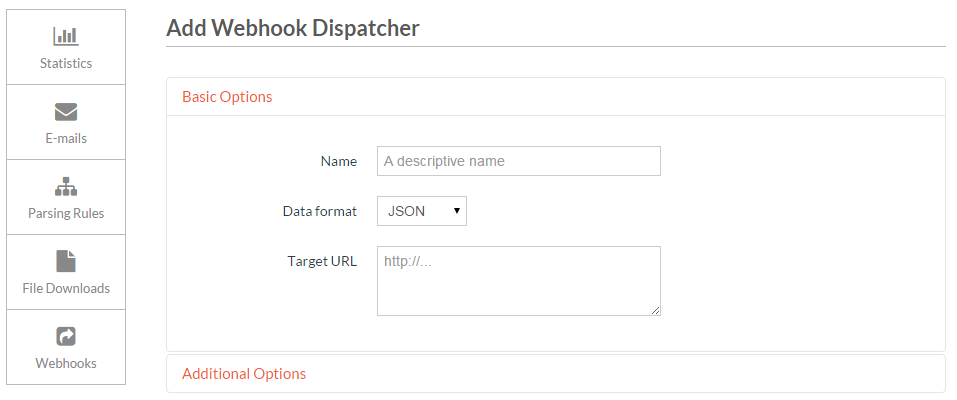
- Add the Webhook Dispatcher that you are given by Zapier to your Mailparser account. Click Save Webhook.
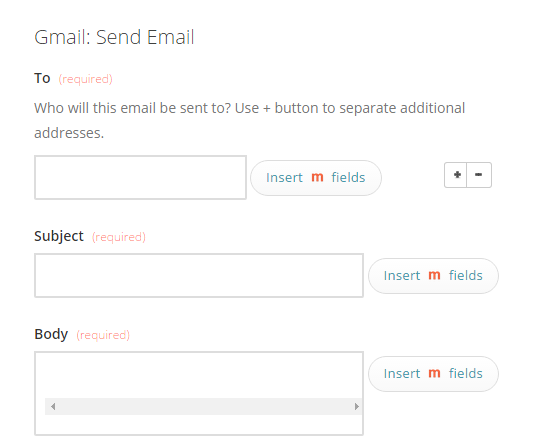
- Choose your Gmail account from the list of accounts, or select a new account.
- In the Gmail To field, choose to insert Mailparser fields, and choose the Mailparser email field corresponding to your intended recipient on future emails. This will correspond to the field that you have chosen to parse out using the Mailparser client. Do the same for the Subject and Body fields.
- Click Save + Finish.
Now test the Zap to make sure it works. Once you’re satisfied with the results, new emails processed will send a Gmail automatically.
Note: if you ever want to change this Mailparser and Gmail integration, just go to your Zapier dashboard and tweak anything you’d like.
You can also check out all that’s possible with Mailparser on Zapier, and other ways to connect Mailparser and Gmail.